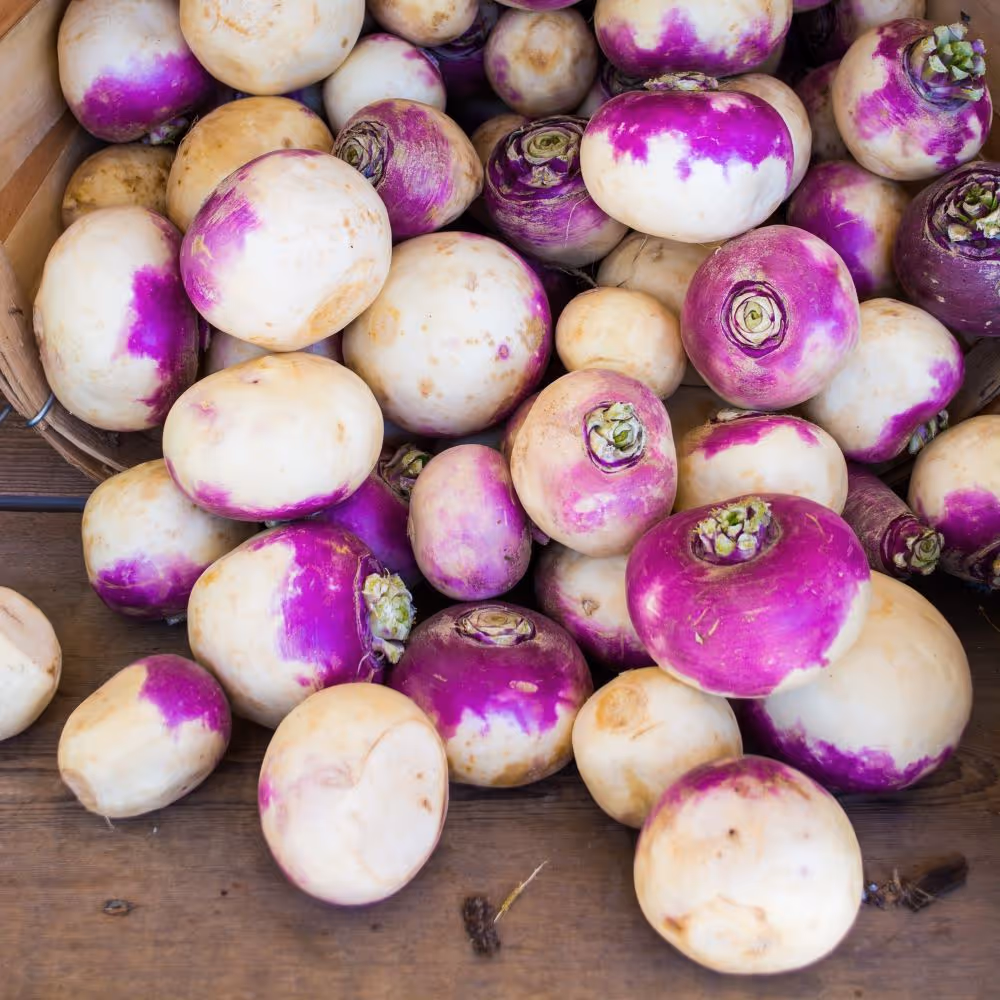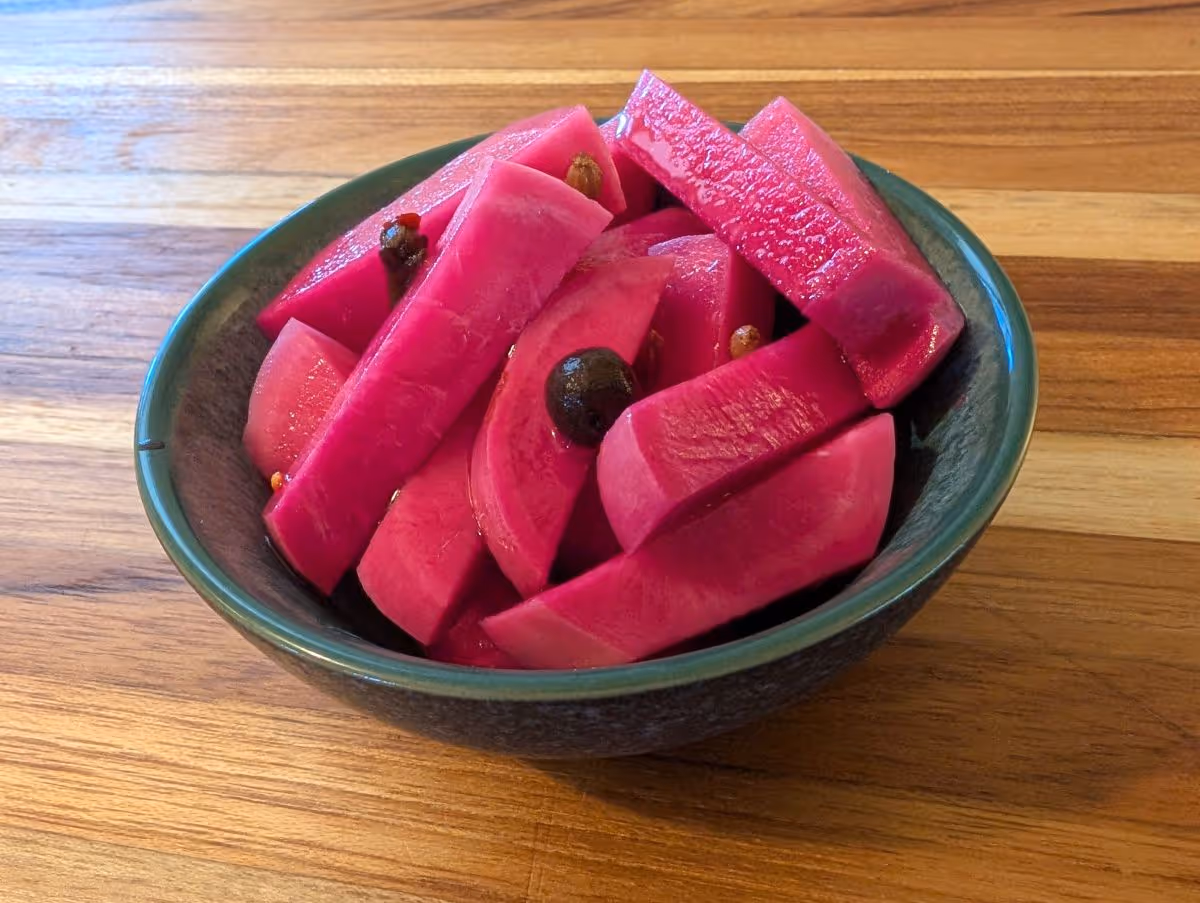
Pickled turnips are a staple of Lebanese cuisine, found tucked into falafel wraps, lining mezze platters, and served alongside grilled meats and creamy dips. Their signature bright pink hue comes from a few slices of raw beet added to the jar—a clever touch that’s as traditional as it is eye-catching. Tangy, crunchy, and sharp with a hint of spice, they bring balance to rich and savory dishes with every bite.
This version adds a few flavorful twists while keeping the classic structure intact. Red pepper flakes introduce a gentle heat, and a spoonful of pickling spice deepens the brine with warm, aromatic notes. Made as a fridge pickle, this batch comes together quickly with no canning required—just slice, simmer the brine, and let time do the rest.
Customizing This Dish
- Vinegar: White vinegar gives a classic flavor and color, but you can substitute half or all of it with apple cider vinegar for a slightly sweeter, fruitier brine.
- Turnips: We use hakurei turnips here, because that's what we grow! But, you can use the larger types of turnips as well. But, you'll need to let them sit in the fridge for a few more days before they're ready since they're a denser vegetable.
- Spices: The pickling spice blend adds warmth and depth. For a simpler version, you can leave it out or replace with a few black peppercorns and a bay leaf.
- Heat: For more heat, increase the red pepper flakes or add a sliced hot chili pepper directly to the jar.
What to Serve With Pickled Turnips
- Wraps and sandwiches: Stuff into falafel pitas, shawarma wraps, or grilled halloumi sandwiches for a sour, crunchy contrast.
- Mezze platters: Serve alongside hummus, labneh, olives, and flatbread for a colorful addition to any spread.
- Salads and bowls: Toss into grain bowls, chopped salads, or tabbouleh for an acidic kick that balances richness.
- Snacking: Eat them straight from the jar or with cheese, nuts, and pita chips as a snack plate element.
Storage Instructions
Store the pickled turnips in a sealed quart jar in the refrigerator. They’ll be ready to eat in 4–5 days, but the flavor and color deepen over the course of a week. They'll keep well for 1 month in the fridge. Always use clean utensils to remove pickles from the jar to avoid introducing bacteria that could shorten their shelf life.

Lebanese Style Pickled Turnips
- 1 pint mason jar
- 6 oz hakurei turnips, scrubbed and cut into matchsticks
- 1 oz red beet, peeled and cut into thin matchsticks
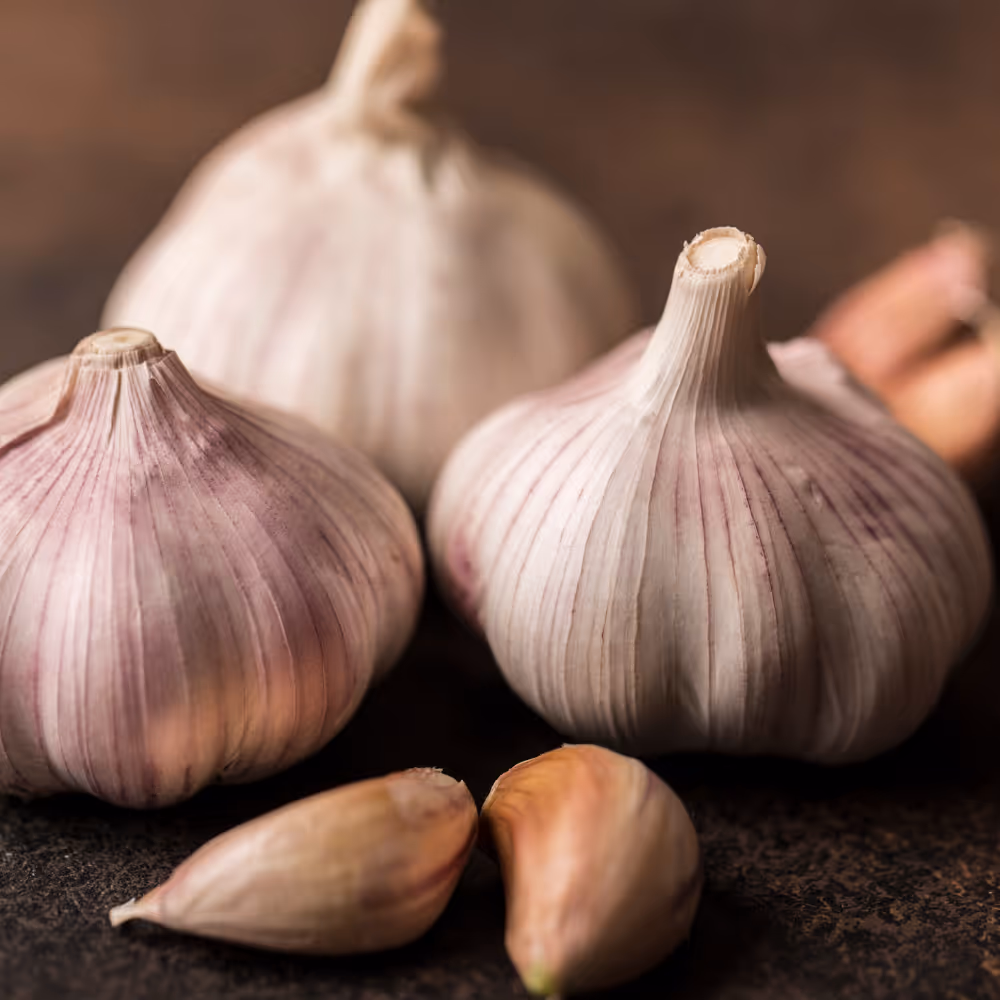
- 1 cloves garlic, sliced
- 3/4 cups water
- 1/2 cup white vinegar (5% acidity)
- 1 1/2 tsp kosher salt (or 2 tsp table salt)
- 1/2 tsp sugar
- 1/2 tsp pickling spice
- 1/8 tsp red pepper flakes (optional)
- Peel and cut the turnips and beet into thin matchsticks about 2 inches long. Slice the garlic cloves.
- In a sterilized 1-quart jar, layer the turnip and beet sticks with sliced garlic. Add the pickling spice and red pepper flakes.
- In a small saucepan, combine the water, vinegar, salt, and sugar. Bring to a simmer over medium heat, stirring until the salt and sugar dissolve. Remove from heat and let cool for a few minutes.
- Pour the warm (not boiling) brine over the vegetables and spices in the jar, ensuring everything is submerged. Leave about ½ inch of headspace. If needed, top off with a little extra vinegar or water.
- Let the jar cool to room temperature, then seal and refrigerate.
- The pickles will turn bright pink and tangy in 4–5 days. They’re best after 1 week and will keep refrigerated for up to 1 month.